
Below are a little guidelines on how to use the app.
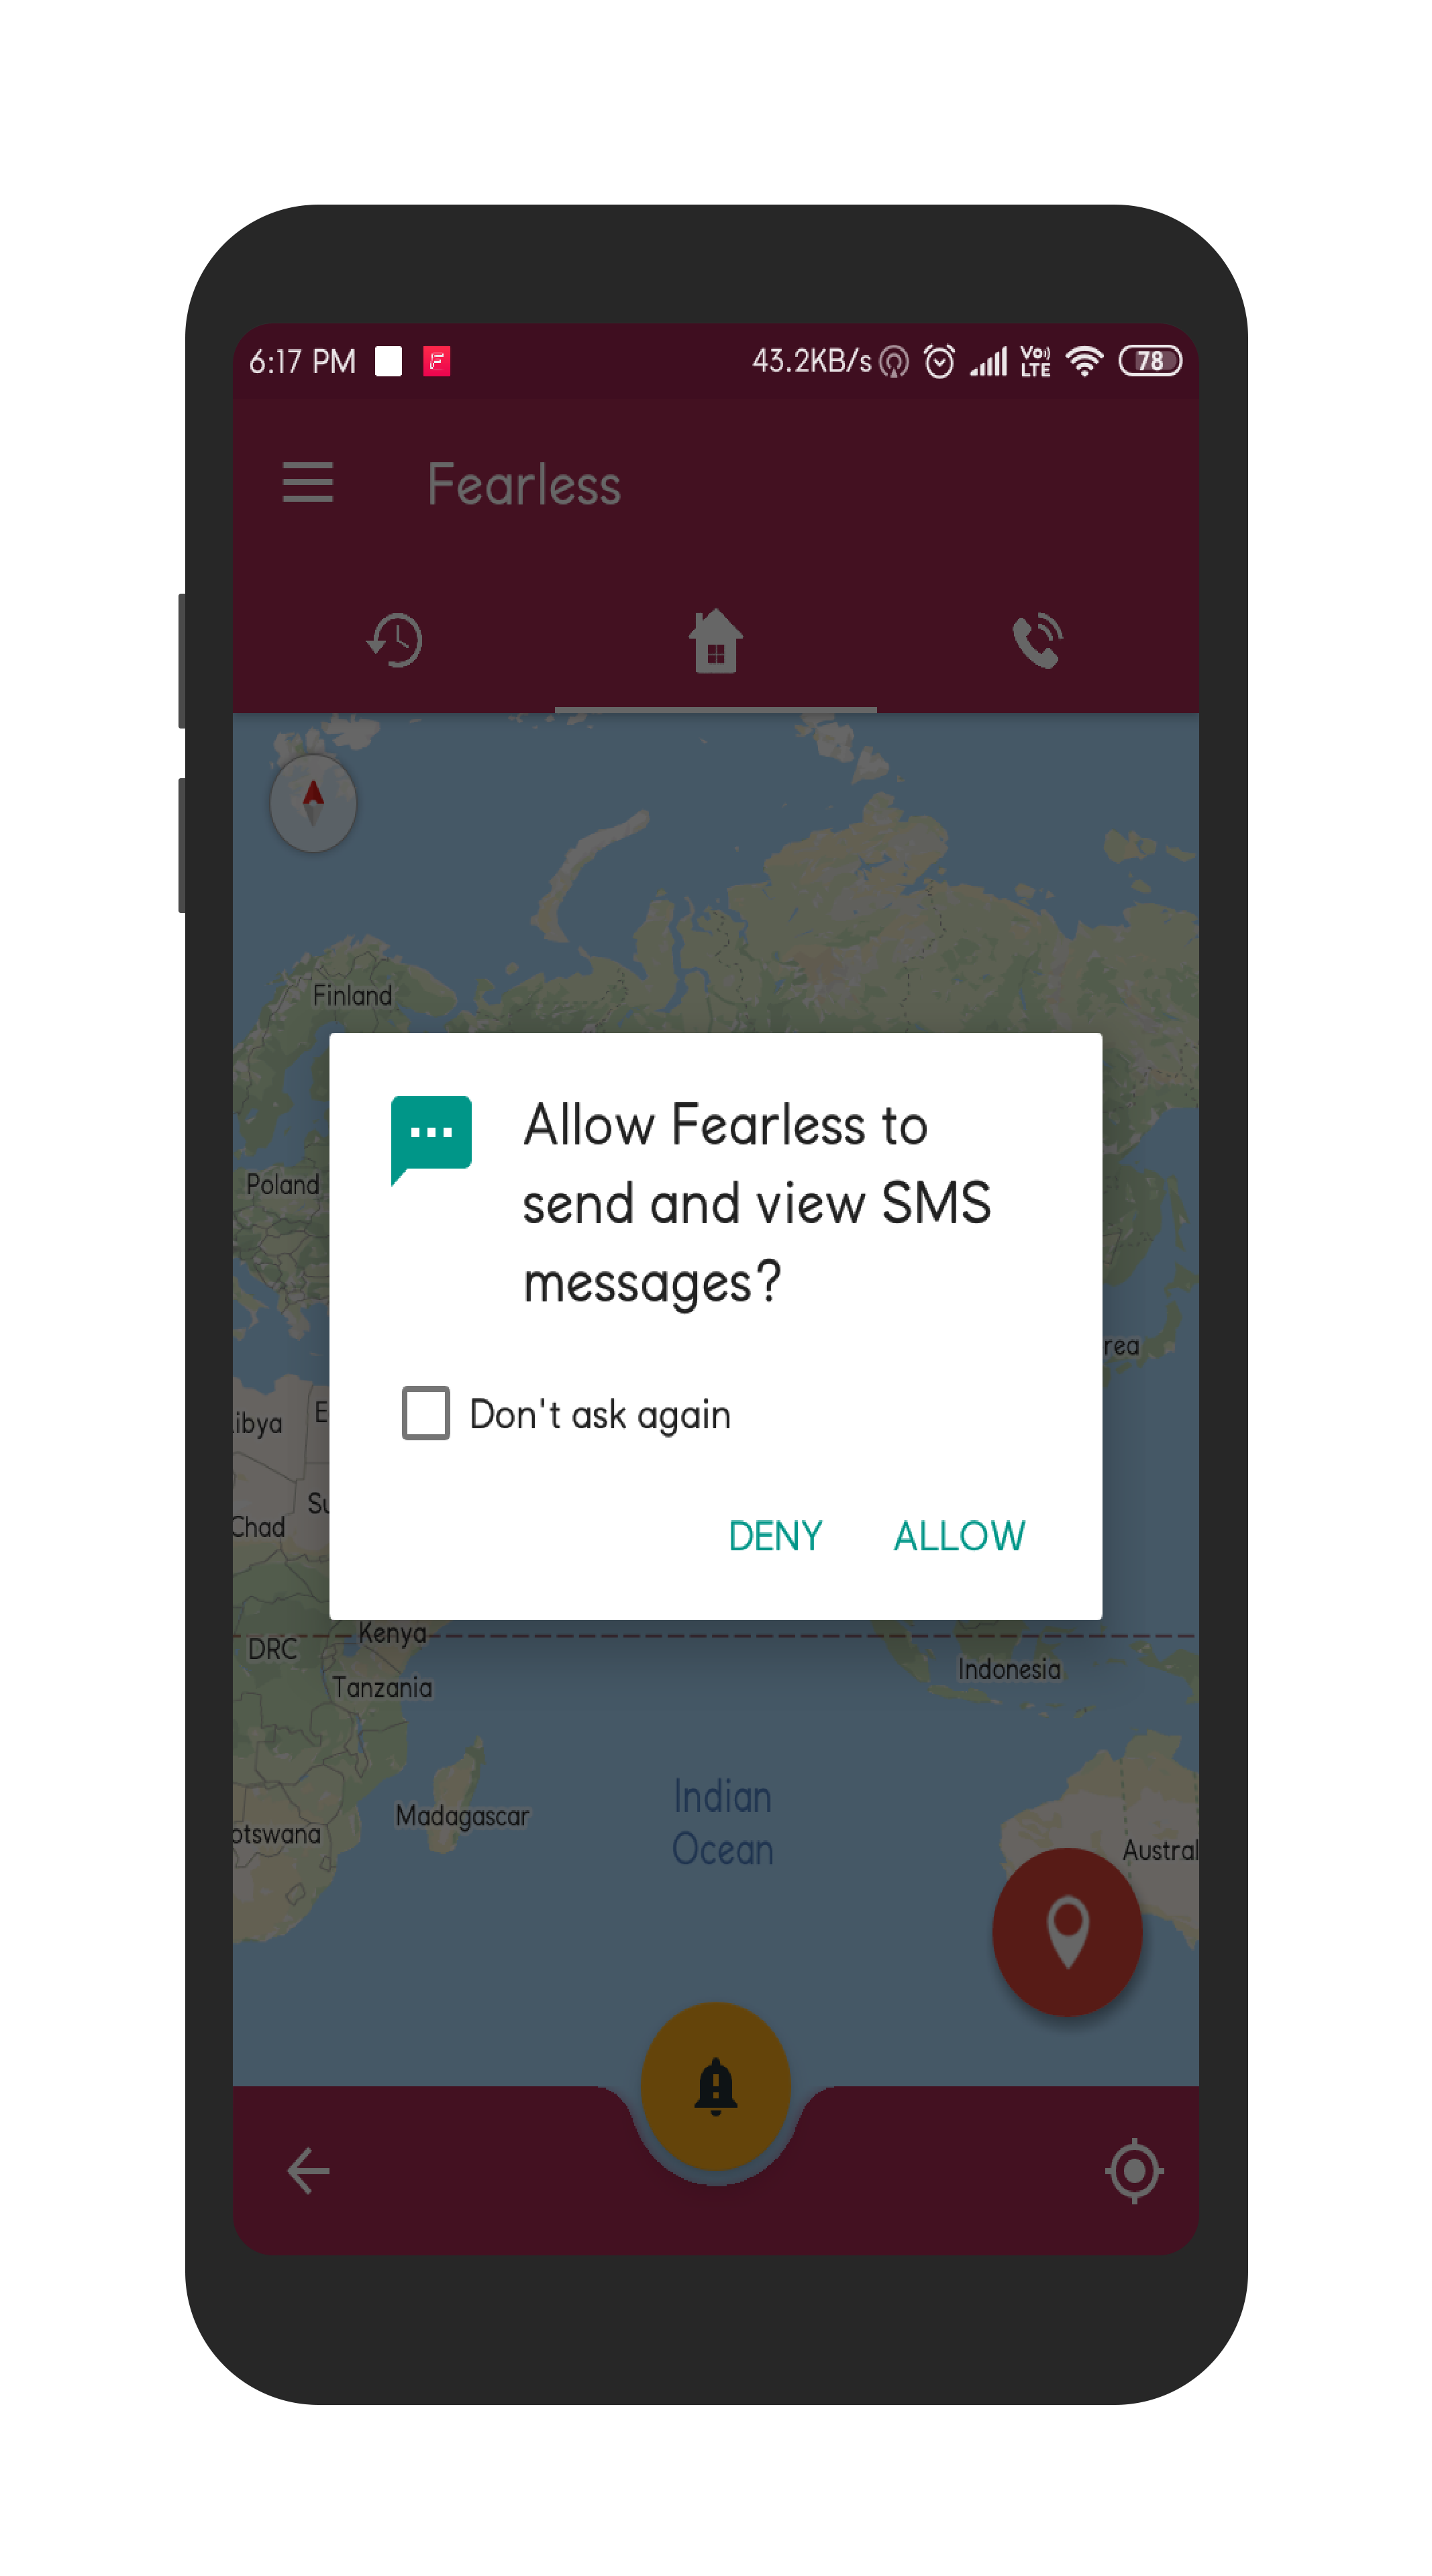
The fearless application require the following permissions after its installation.
Already registered users can log in using email id provided and password. In case a password is forgotten, a recovery link is sent to the user and a new password can be created.
The first time user of the application can register with a valid email account and password that matches the password criteria. Following are the password criteria:
This feature is available for registered users only.
Click the “Add contact icon”
 to add saved contact from the contact list.
Drag the contacts to arrange them according to priority.
Click on the update button to upload the current preference to the server.
Swipe left to delete a contact from the preference list.
to add saved contact from the contact list.
Drag the contacts to arrange them according to priority.
Click on the update button to upload the current preference to the server.
Swipe left to delete a contact from the preference list.
On successful registration, verify the email using the verification link that is sent to the email. Email verification is necessary to add contacts and rise an alert.
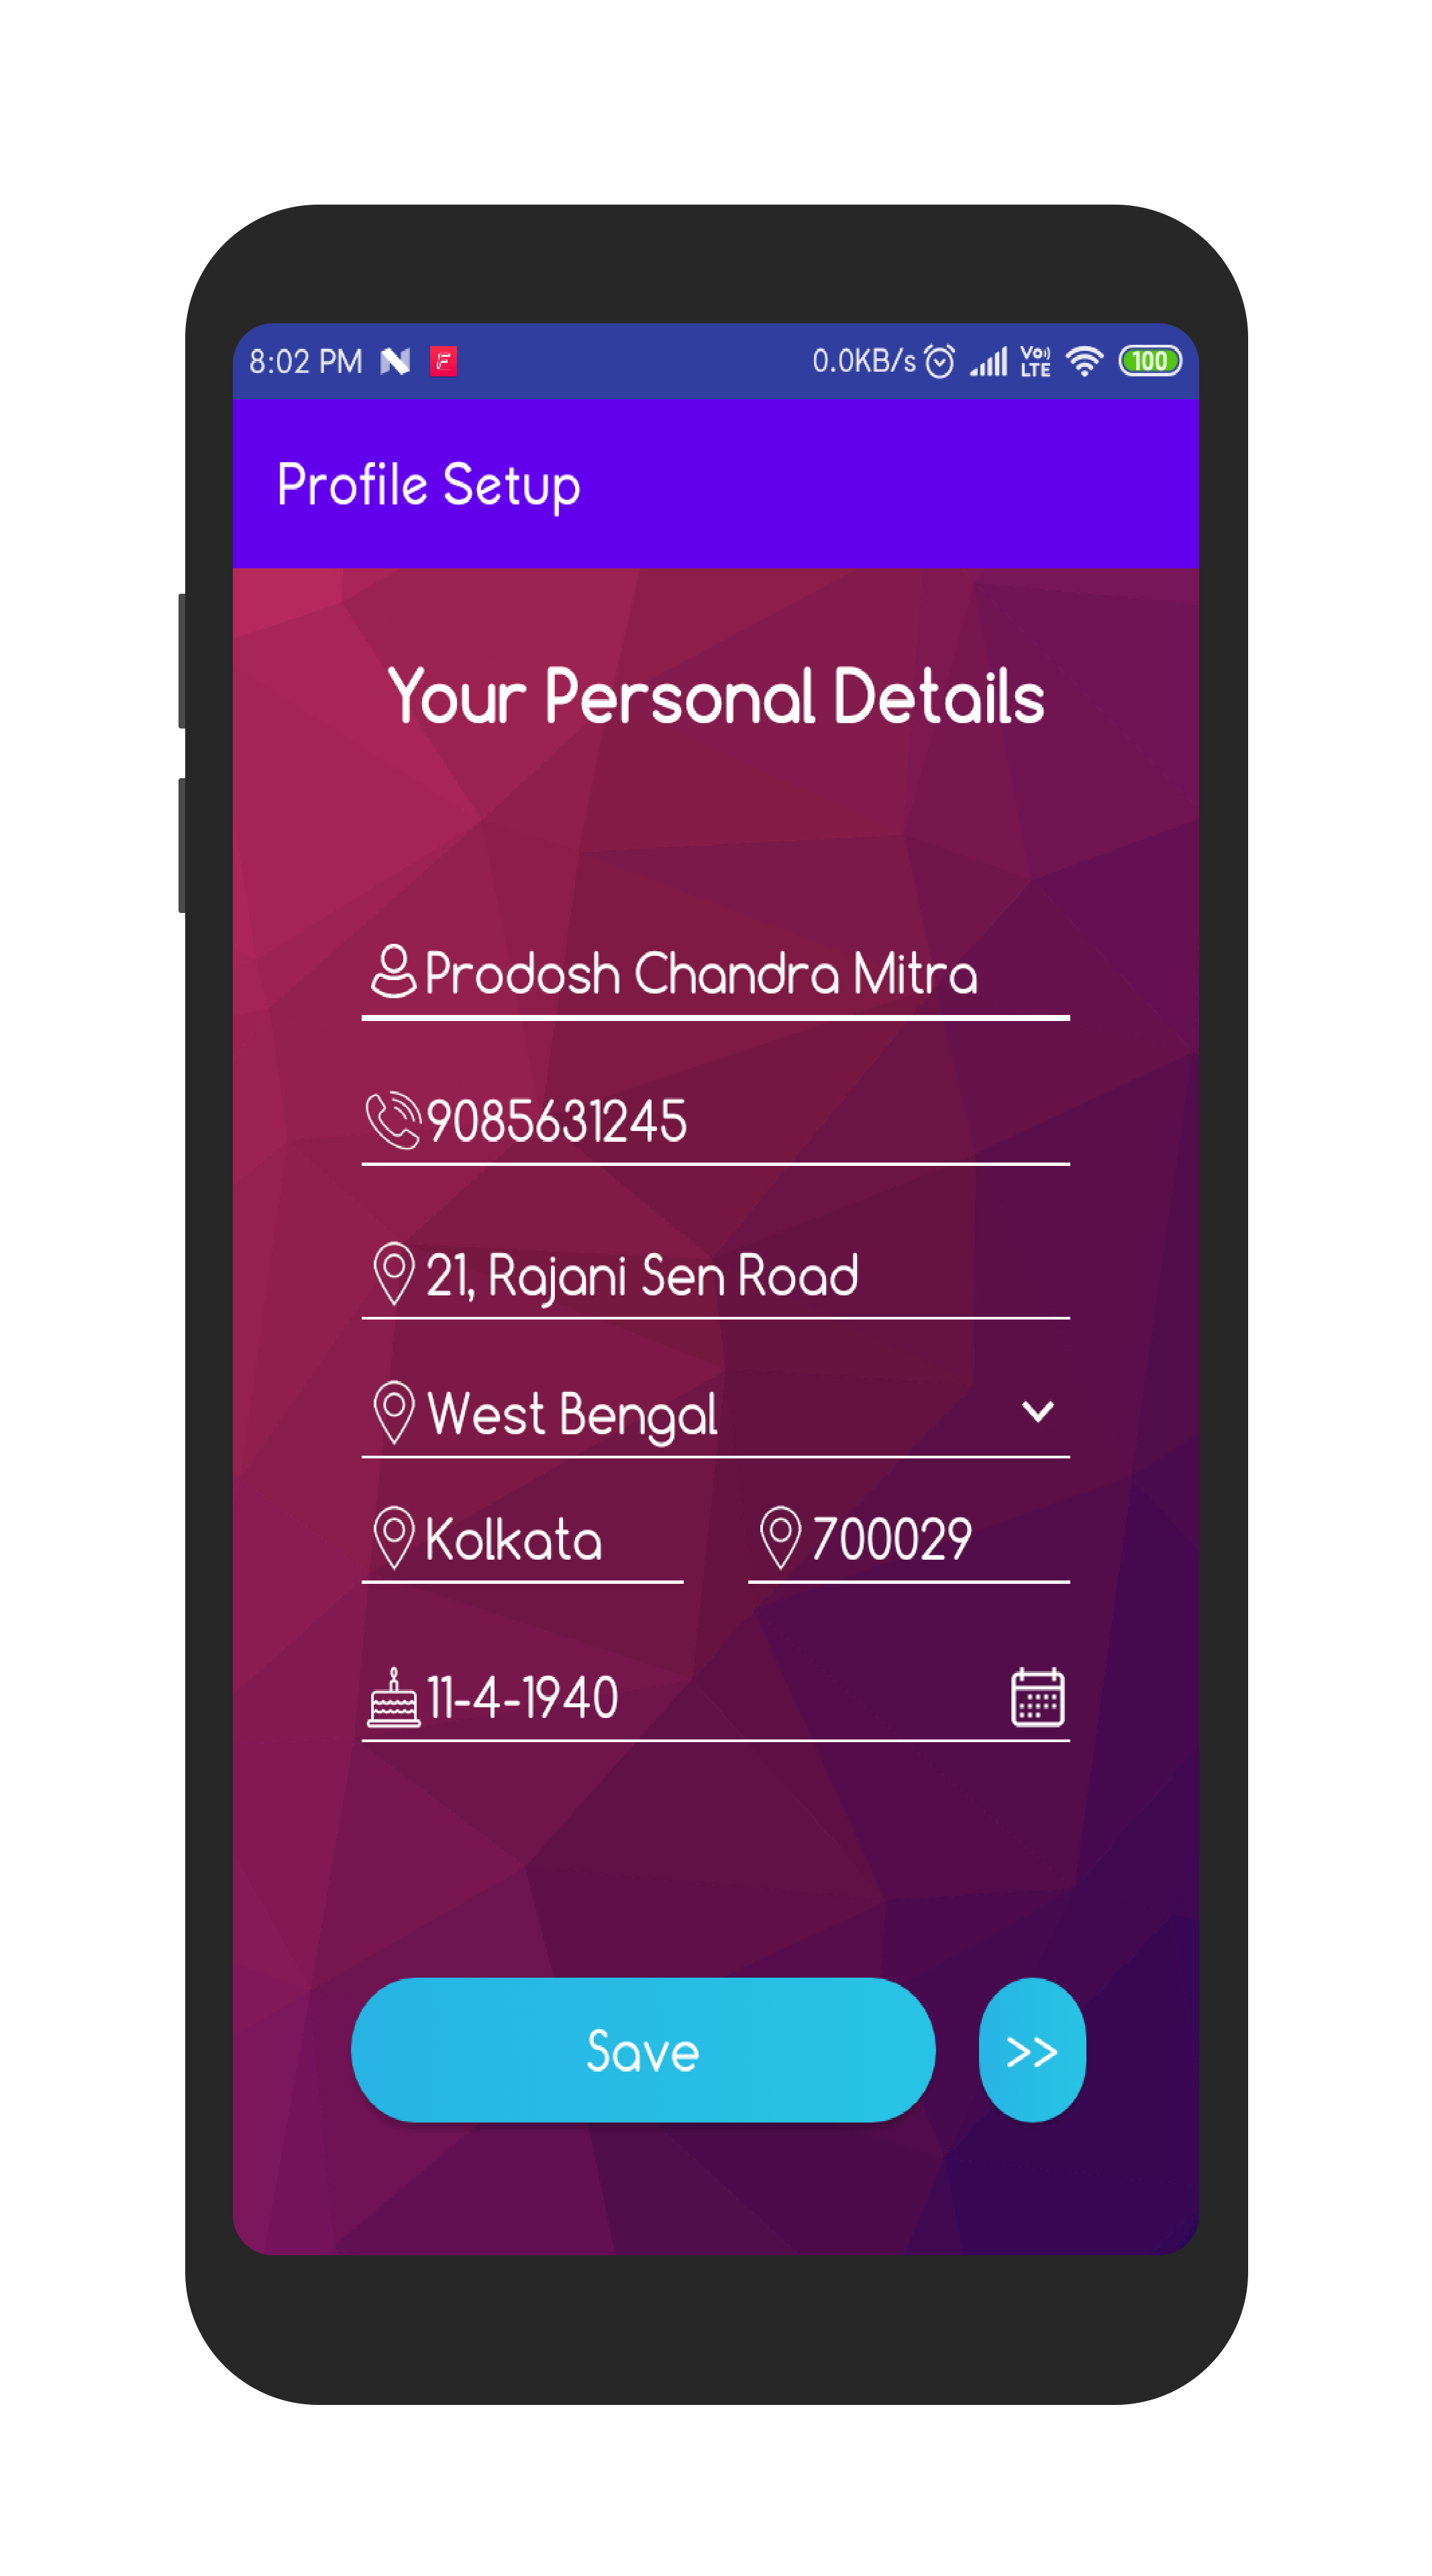
Registered users can add their personal details like name, address, mobile and DOB. Users can add their profile picture. Workplace details like address, phone no and occupation can be added.
The application allows different setting preferences for the users:

Press the Alert button
 to raise an alert.
SMS with location details will be sent to the top contacts (as selected).
To arise an alert, the user must be registered and close contacts must be selected in the app before.
The device is vibrated five times to notify the user to
stop the emergency alert if the alert button has been pressed by mistake.
to raise an alert.
SMS with location details will be sent to the top contacts (as selected).
To arise an alert, the user must be registered and close contacts must be selected in the app before.
The device is vibrated five times to notify the user to
stop the emergency alert if the alert button has been pressed by mistake.
Press Stop Alert button
 to stop the alert. Alert can also be closed from the non-dismissible
notification bar by pressing the CANCEL button.
Then click on close alert from the app screen.
Press the sync button to update the alert details to the server.
to stop the alert. Alert can also be closed from the non-dismissible
notification bar by pressing the CANCEL button.
Then click on close alert from the app screen.
Press the sync button to update the alert details to the server.
View the history of past alerts from the history tab.
The location timeline of the user for different alerts
can be seen by clicking
 .
.
Nearby hospitals and PS can be viewed on the Google Maps app if the user taps the location marker button on the home screen and selects any option from that menu. The current location of the user is also shown in the app's home screen.
View Nearby Fearless users if they are in any danger. To access this, please enable "Receive alerts from other users" in the app settings. Enabling this, you will be able to receive alert notifications from nearby Fearless users in danger.
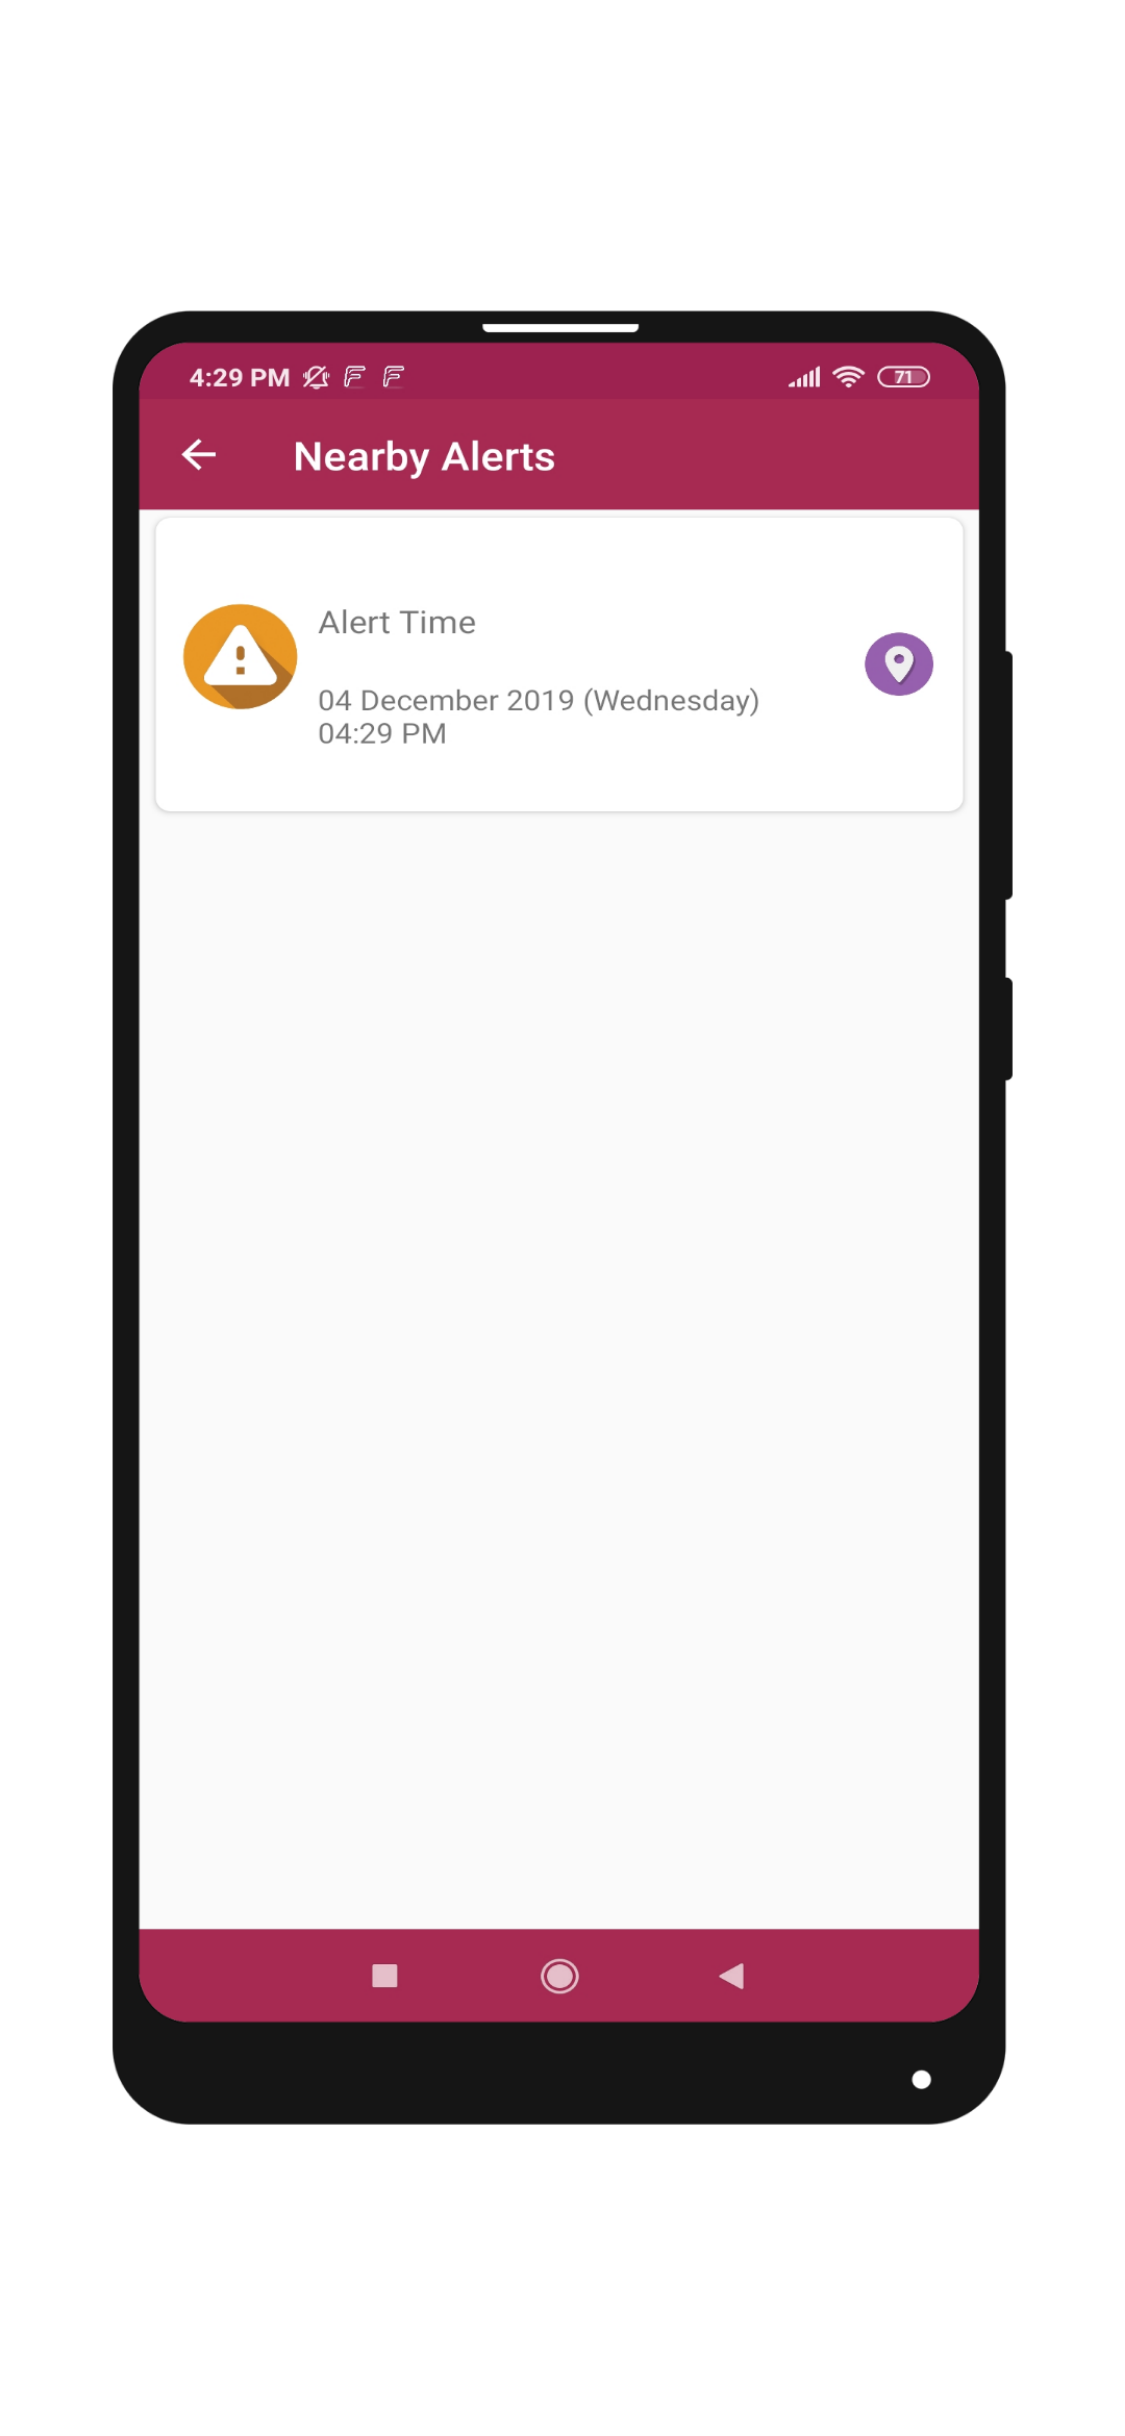
You can view the nearby alerts from the "Nearby Alerts" option from the menu. To track an alert, please tap the
button to track the location of the victim.
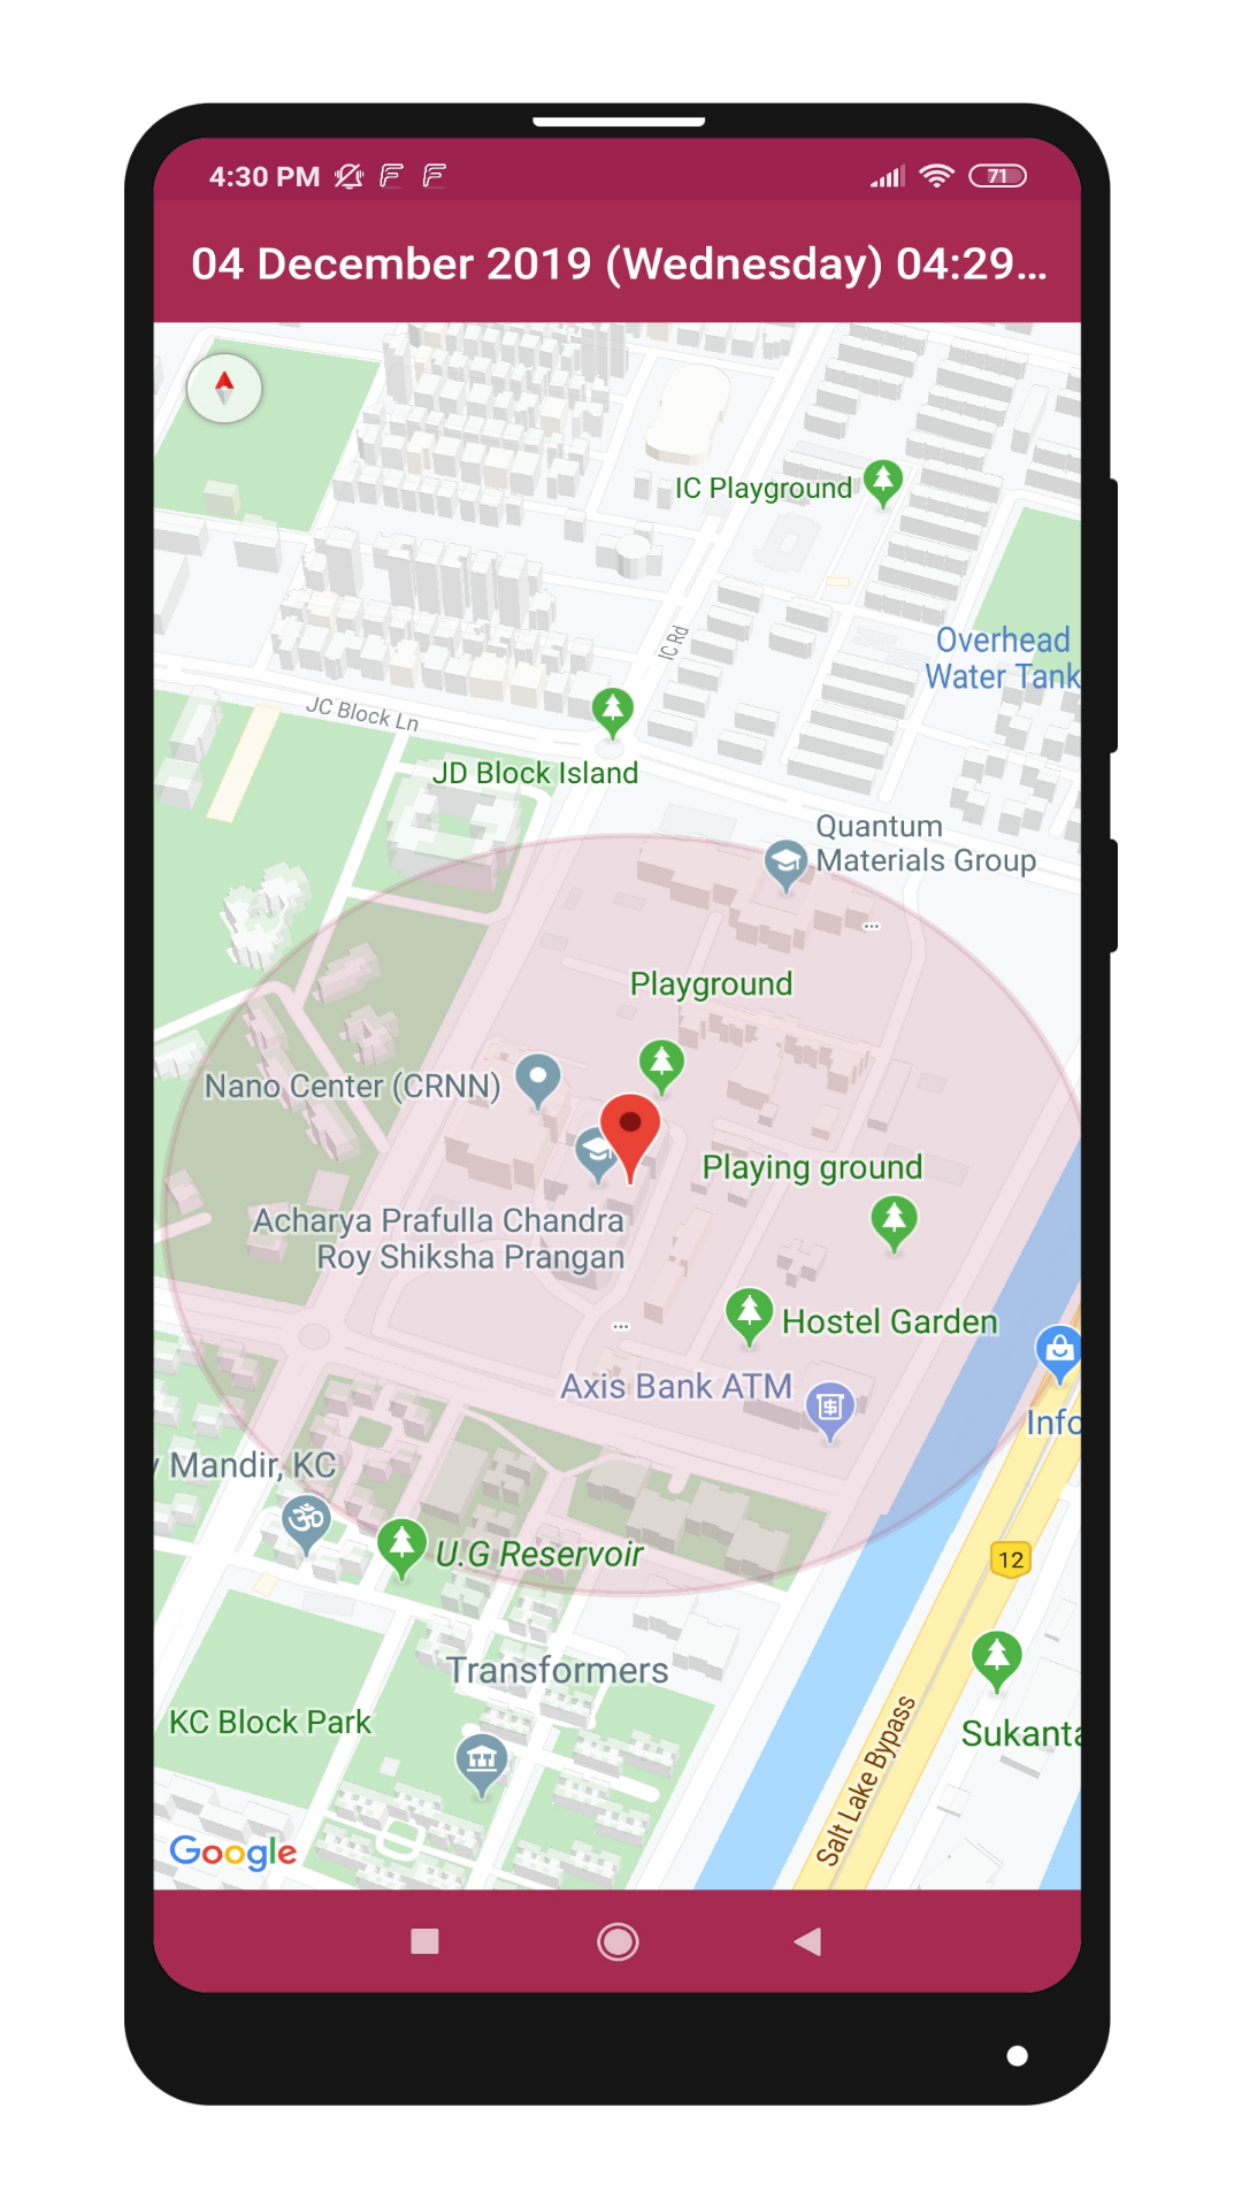
Two markers will be shown alongwith a circle when you start tracking the location. One marker will point the victim's location and the other one will point your self location. The entries in the screen "Nearby Alerts" will disappear automatically once the victim feels safe or closes the alert.